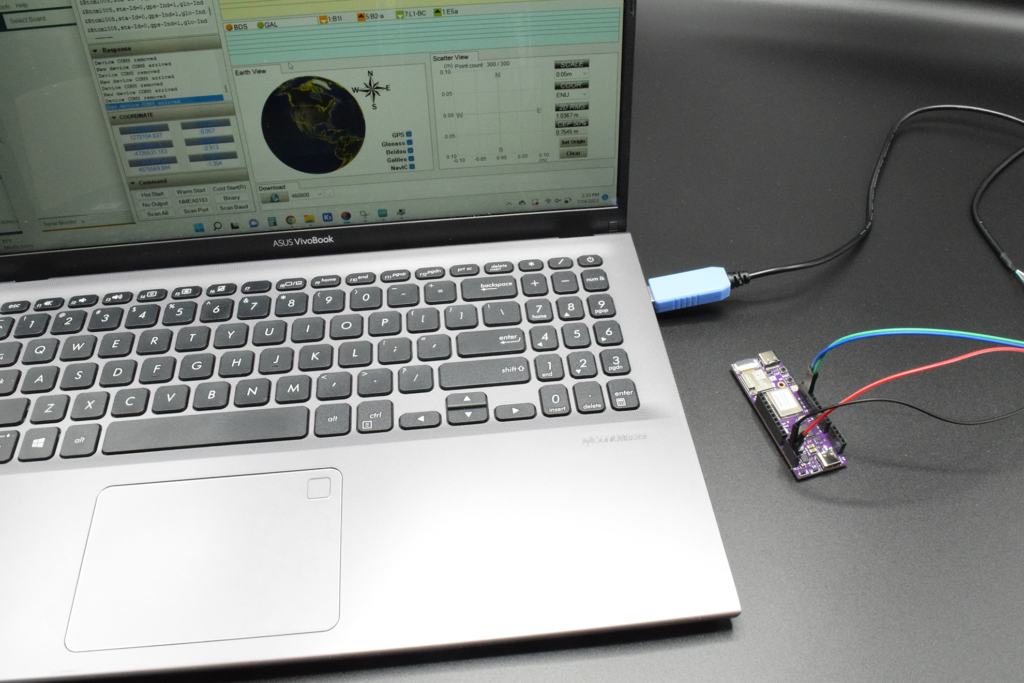
The example programs automatically configure the PX1125R/PX1122R receivers using NavSpark’s binary interface from the Arduino programs, however you also have the option to configure and view data from the receivers using NavSpark’s GNSS viewer application for Windows computers, available for download here. A USB to UART cable is used to connect the PX1125R/PX1122R to a PC running the GNSS viewer. The ground pin on the USB to UART cable connects to C2 (GND), the power cable (5V) connects to C3 (VBATT). The receive and transmit cables connect to S12 (0) and S13 (1) respectively. Transmit and receiver wire colors vary by manufacturer and they can be plugged in backwards without issue, so if you don’t see text coming across in the message box on your first try, then reverse the transmit and receive pins.
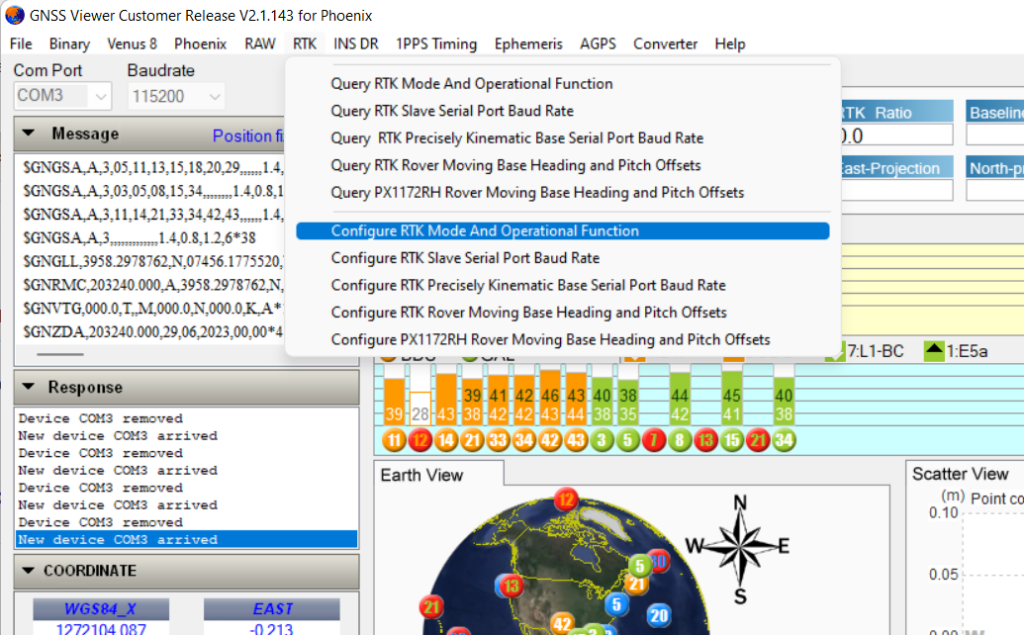
In the GNSS viewer you can view data on the available satellites as well as RTK data. You can also explore the different configuration parameters available on the receivers. If you ever get the receiver in a bad state its ok, because most sample programs begin by resetting the receiver to its original factory settings.
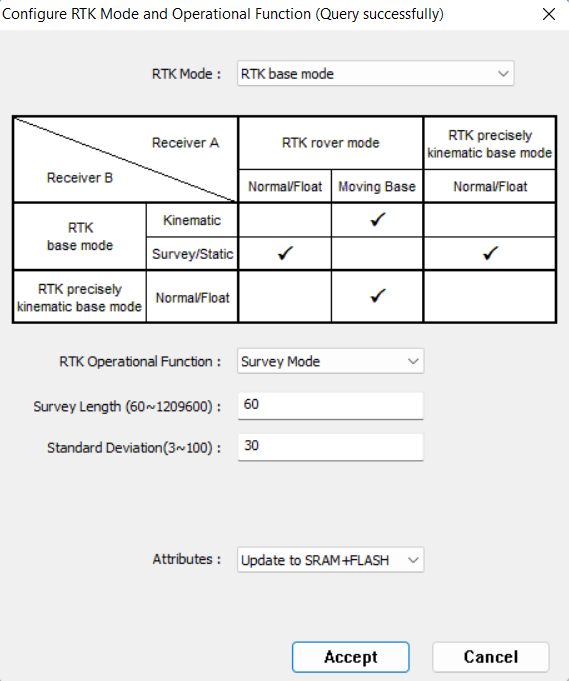
Here is an example of setting RTK mode and operation for the base station.


